Preparing character model for Unity game in Blender
November 10, 2022
Following on from last post, I’m going to detail how I began my journey in to basic game development. This post will focus on usage of Blender - a free, 3D modelling and animation tool which is popular among amateurs.
This post is not going to detail every aspect of what’s required. It’s more of a documentation of what struggles and pain points I encountered, as this is what I spent hours trying to fix after not finding much help online.
I decided to start exploring the playable character, with a goal of getting a 3D model from my all time favourite game - Metal Gear Solid, in to Unity. After some research I found that, depending on the model setup, it’s often required to do some work on the model before importing to Unity.
Importing the model
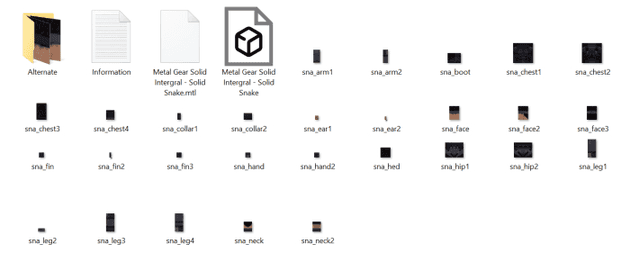
I found the model of MGS1 Snake after a 20 second Google. My model came in a .obj format. packaged with small texture images and a .mtl file:
It’s worth noting that my usage of this model is purely for educational purposes. I have no intent to pass on the output of my game with anyone.
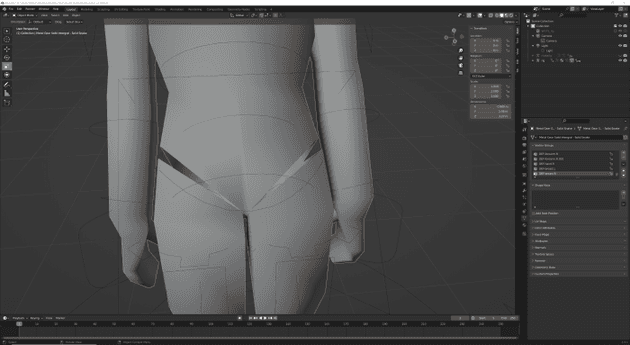
With all these files in the same location, the import process can begin in to Blender. After doing a File > Import and selecting the .obj file, the model appears on screen. After panning and zooming around the model, I noticed a lot of weird looking areas with gaps in the model:
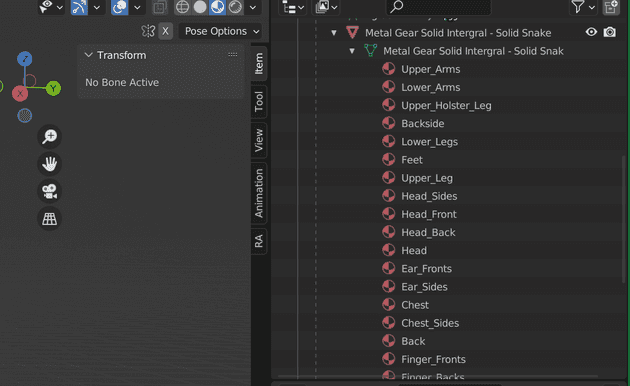
The gaps here appear in a load of places. I found out this happened because my model came in a load of separate pieces, each of which have a corresponding material:
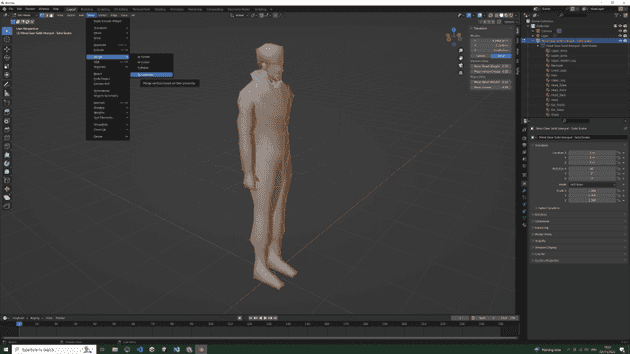
In order to fix this, blender has an option to merge the parts together. By selecting edit mode > mesh > merge > by distance, the model joins together the gaps.
Rigging the model
Now the model is joined up, it needs to be rigged. This is a huge topic itself, but essentially it’s the process of taking a model (or mesh) that has no easy way to perform movement and adding “bones” to it. These bones are called an “Armature” and is the best way to get a model ready for positioning and eventually animating. Without a rig/armature, it’s extremely difficult to treat the object like a human, positioning limbs etc with human constraints like joints.
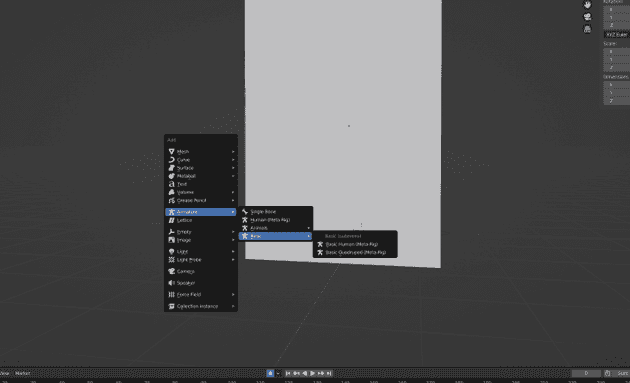
To rig the model, I started by using Rigify. This is an addon to Blender which gives us a pre-made rig which we can put inside the model and join them together, eventually allowing us to position the model easier. A quick overview for reference - first install the Rigify addon to blender, then in object mode press shift + a and add armature:
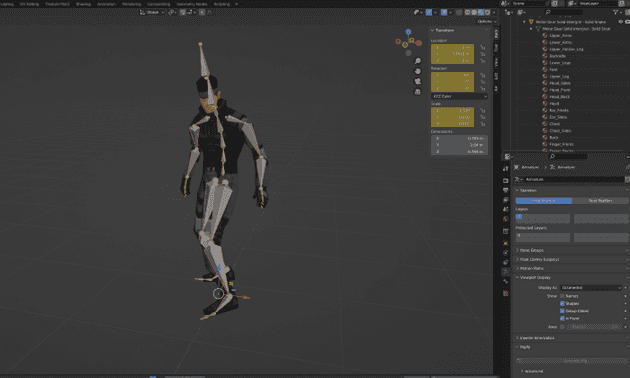
Once the rig is loaded, care needs to be taken to position the rig inside the model, treating it like you’re adding bones to the model. This is a critical stage, as it’s difficult to go back and re-do without messing up settings from my experience. Another tip is to change the setting in the bottom right of the screen below to check the “in front” box - allowing the rig to show over the top of the model. Otherwise you can’t see what’s happening:
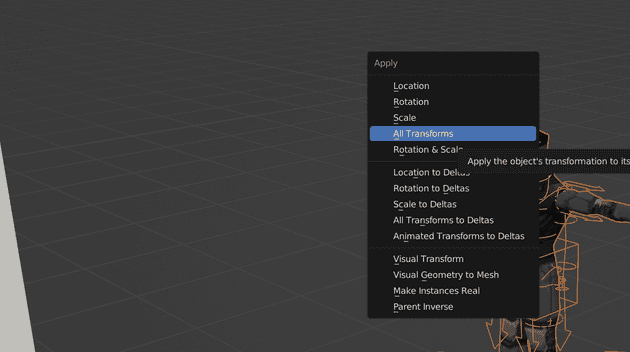
Once positioned, a very important step is needed. I spent 2 hours banging my head against my keyboard trying to figure out the problem which was cause by not doing this step. You need to highlight the rig and model and press ctrl + A to apply All Transforms. This resets the scale to 1 for everything. This is needed because if the model and rig are scaled at different amounts, which the definitely will be, the rigging wont work.
Once positioned and reset scale, select both the model and the rig, and go to the rig settings in the same area as screenshot above, and press “Generate Rig”. This is the magic that the Rigify program does for us, as it performs the actions needed to turn the basic, useless model in to one we can manipulate like a human body.
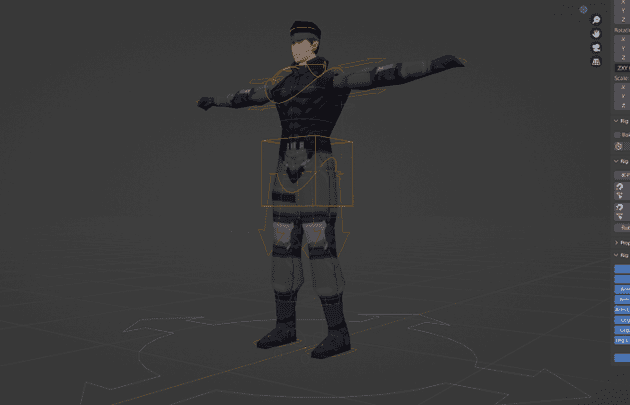
Once the model is rigged, select the rig and go to Pose mode. You’ll notice it has these coloured lines around the model.
Now there’s one more critical step before finishing up, and that’s is called weight painting.
Weight painting
I thought I could do what I needed without weight painting because it looked way to deep in to Blender for how I wanted to go. I had to do this in the end though as my model required it.
Weight painting is hard to describe, but it’s the way to allocate the mesh to the rig a varying levels of strength. Some areas you’ll want the mesh to stay really tight to the bone, and others not so much. In my case for example, I had this weird issue where parts of the model would not stay together when doing some basic repositioning:
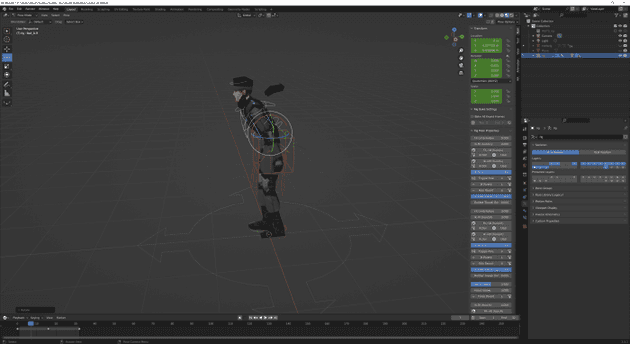
Notice how the neck part of the model stays in position when I bend the model down. Another example is the thumb on the right hand did this funny stretch thing:
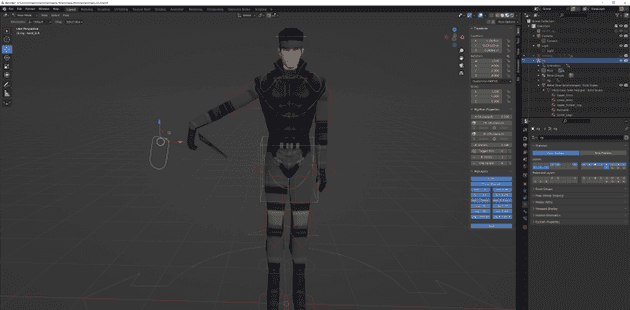
I’m not exaggerating when I say I spent 6 hours over 2 nights trying to get this thumb to behave normally. I finally found out that it was a weight painting problem, because when the model was in it’s default positing before the rigging, the thumb was very slightly inside the right thigh, so the Rigify program had decided that the thumb was essentially part of the thigh bone.
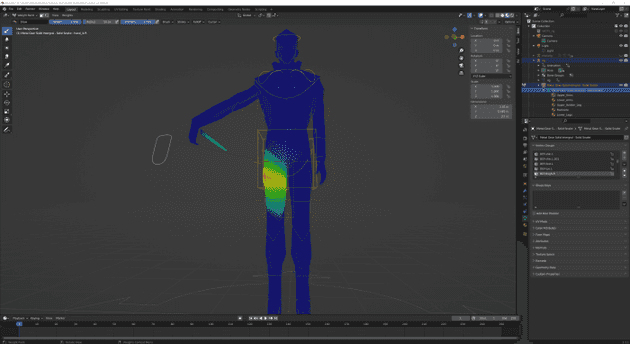
It took me ages to find out the issue because of how weight painting works. I had been weight painting by selecting the whole rig bone structure in object mode, then changing to weight paint mode, and everything was just blue, which means there’s no weighting at all. But what I didn’t realise was that each bone needs to be selected separately and weighted.
Notice in the image below how I’m looking at each bone separately in weight painting mode, each of which shows a strong weighting around the bone. My issue with the thumb was very apparent when I did it this way:
Finally once weighted, go to object mode, select the rig, then shift select the mesh (yes, the ordering always counts in Blender - sigh), and press ctrl + p. Then parent with automatic weights. This creates the final rig which can be used to position and animate the model.
The model can be exported for use in Unity now, but it won’t be much use as it’s no animations or poses. To export though, it must be on Object mode and the rig needs to be selected. Go file > export, and be sure to select only the armature and mesh options on the right side, and check the “selected only” checkbox, otherwise the camera and lights will also export.
Quick tips on using Blender:
- Switching between edit, object, and pose mode is a little frustrating at first. This is because actions can only be performed in one of these modes. So if you find yourself in Object mode and trying to use a shortcut to re-position the model for example, this will not work as you need to be in pose mode.
- Similarly, Blender has loads of different windows - the properties, the main views, the animator, the file hierachy, and tonnes more. Most shortcuts and actions can only be done when the mouse cursor is in a specific window.
Senior Engineer at Haven
