The difference between root motion and in-place motion in Unity
December 20, 2022
Out of everything I’ve looked at in Unity, motion and root motion is by far the most difficult thing to get right. It’s easy enough to understand, but there are so many intracisies around it. I’ll start by explaining (as far as I understand it - bare in mind I’ve been learning this for 2 weeks so far) what the two types of motion is that I’ve encountered.
First there’s in-place motion. This is where the animated object in blender does not move around on the root of the object. That is to say, all animation is done while the object is stationary. For example, here’s a clip of my terribly made walk cycle in Blender:
The object does not move around in Blender because movement, including rotation, direction, speed etc is all handled in Unity with C#. From what I can tell, this has an advantage of giving the game developers more control over things like those movement properties, like being able to speed up or slow down the walk when requirements change or for whatever reason.
The drawback of this method is that it can easily lead to the “sliding effect”, whereby the legs are moving at one speed but the character is moving noticably slower or faster than what the animation looks like.
Then there’s *root motion. This is where the the animated object in blender is moved around the 3D space inside Blender. The animator has control over the distance that is covered in the motion, relative to the animated movement. For example, here’s another clip of my terribly made side shift animation in Blender:
The object moves around in the blender 3D space (although it’s a little difficult to tell in that clip), but this means when it’s imported to Unity and “root motion” setting is applied, the character moves at the same rate in the 3D space in Unity that it did in Blender. This means the game developer does not code the movement velocity at all - it’s all baked in to the model already.
The drawback of this approach is that the developer gets less control, and also if something about the animation needs changing that affects the movement-animation combo, it needs to be re-done in Blender.
When to use in-place vs root motion?
It seems like there’s no right answer with what type of motion to use. From what I’ve experienced, in-place motion is great for things like idle, walk and run cycles, as these are things I want control over in the game as a developer. Although root motion works well for these animations, all the tutorials I used when learning all favoured in place motion for these simple animations.
Root motion seems like it’s well suited for things like when a character is doing a special sort of animation that requires even tjhe slightest bit of movement on the xyz axis. Imagine a character doing a special take-down attack on an enemy, or a character jumping over a fence while running. These sorts of animations are more intricate, and having the developer in control of the velocity/rotation of these would be much harder than needed I think.
I struggled to understnad the difference initially, so I set myself a goal of getting both root animation and in-place animation working on the same character so I could try different settings and figure out what works.
My initial struggles with root motion - Rigify vs Mixamo
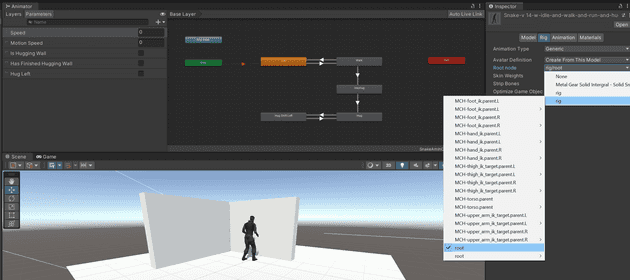
I spent a while trying to get root motion working at a most basic level. That’s because I tried with my initial Rigify model rig, which was not playing nicely with Unity. There are plenty of tutorials explaining how to use root motion, but I found them all to do things differently. I tried using the generic animation type for example:
This looked like it was meant to be used to enable root motion, as you can specify a root node. All the nodes in the above screenshot are ones generated by Rigify, so I thought that selecting the root node it would work. I actually tried many different nodes from that list, including the hips (which many people say is the default root node for a lot of rigs), but with no luck. I could set up the generic animation type to the point where I had root motion options, but the motion itself was janky. It would play one loop of the animation and reset back to the original place of the character, causing no motion at all.
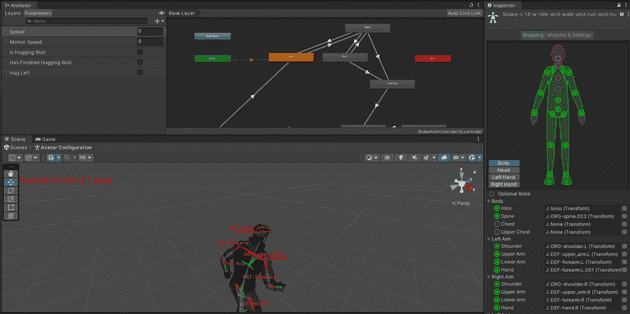
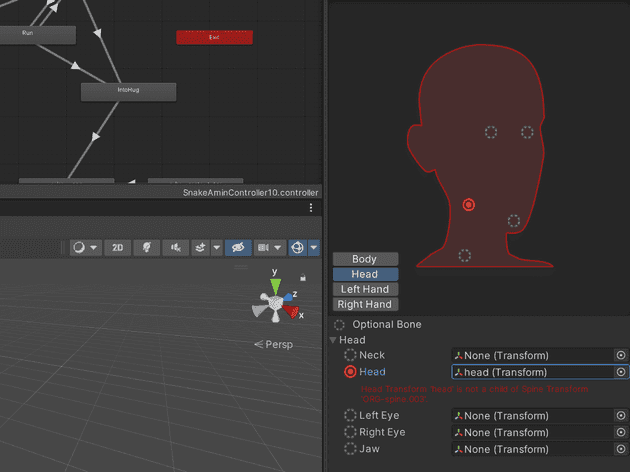
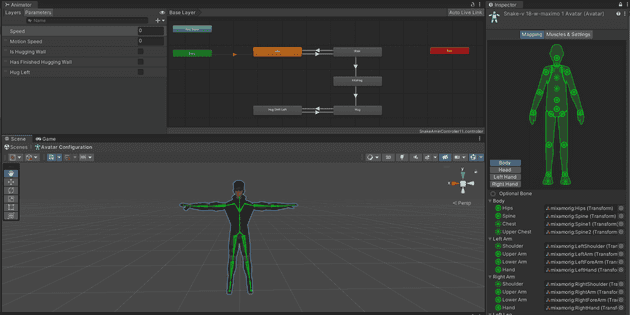
Afterward, I found discussions with people saying that the humanoid animation type was required to get root motion working. This looked promising at first, but when I switched humanoid type on I encountered various errors. Some of them I managed to fix, but there was one error saying the head bone wasn’t a child of the correct spine bone:
I tried to sort that out but at that point I felt I was too far in to the armature aspect of Blender. The whole point of using Rigify is to stop problems like this occuring, so I decided to look elsewhere for a solution to my root motion.
Rigging with Mixamo
After much more Googling and YouTube holes, I landed on Mixamo [LINK]. I’d seen Mixamo mentioned a lot previously, but was hesitant to use another program of addon. It turns out Mixamo is absolutely brilliant for what I wanted. Mixamo is a free-to-use web based app that lets you pass in a humanoid mesh (with no armature) and it rigs everything for you, with incredible results.
It was a shame as I’d spend a while learning how to use Rigify, setting up the armatures, texture weight painting, and everything else mentioned in a previous blog post [LINK], which Mixamo does instantly, for free.
Tips when usinf Mixamo:
- Upload in FBX or OBJ format, but make sure all files/textures/mtls are in the same directory, even when editing between blender and mixamo
- I ended up using FBX but on export, change path mode to COPY and check the use materials box
- BEst to scale everything to right size before uploading to mixamo, because animations and armature will be scaled incorrecrtly and I had trouble syncing sizes up after (had to make new model)
- For one of my models that was 1 big sprite sheet (old style MGS Solider), I had to “use external materials”
Although I initially used the Mixamo online tool to rig my model, I then found a Mixamo Blender addon which does pretty much what Rigify does. Instructions for install here. With this installed, it was easy to generate the armatre and attach it the body.
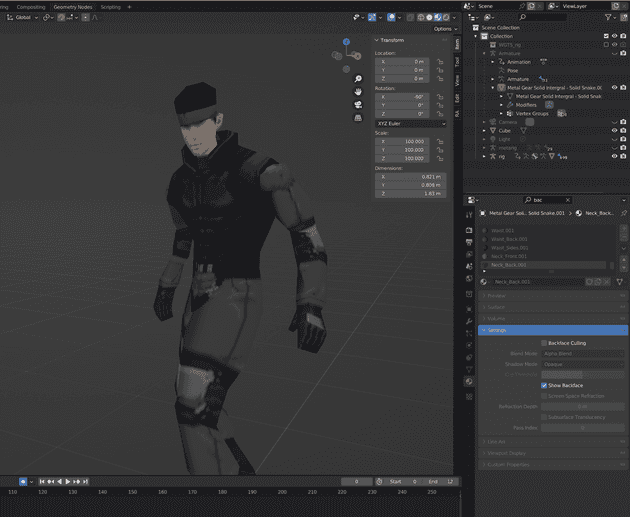
My textures looked weird and translucent. This stuff happens a lot and takes surprisingly long to find the issue. Here, I just had to go to each texture and DESELECT show backface:
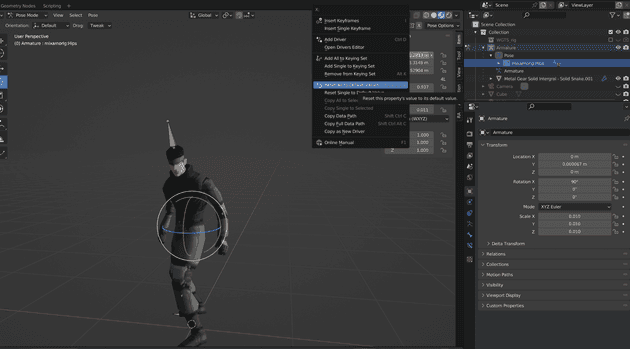
Another thing- the scale was off. I tried resetting the scale like I did befoee with object mode > ctrl + a and reset all transforms. But this caused a weird issue where the center of the object was really far off in the distance. Need to go to object mode, select the root bone, which is the hips in Mixamo, go to pose mode, then open the Item menu and right click the TRANSFORS and click to reset all. I did the same for location and rotation. Scale should be at 1.000
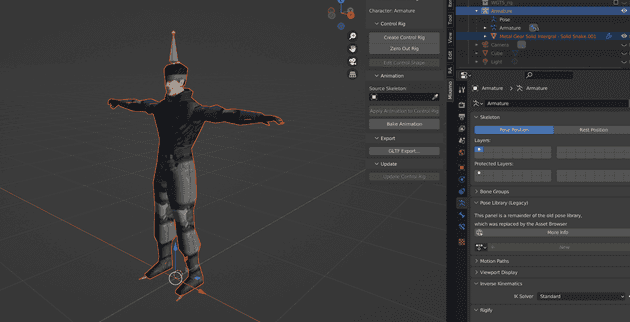
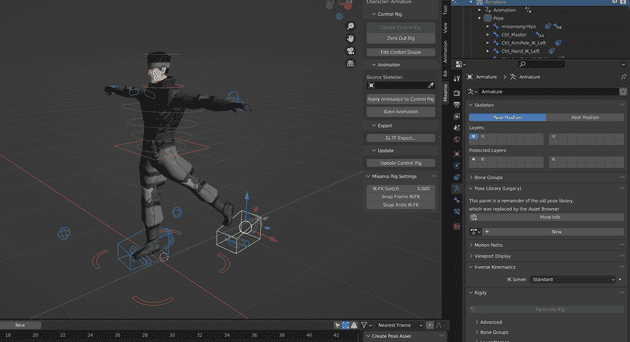
To use, go to Object mode, select armature and mesh together, and use the Mixamo tab to select Create Control Rig:
The rig looks similar to the Rigify one, enabling easy positinging and animation - yay!
Finally, I exported the newly rigged model to Unity and everything started working great:
Best of all, the root motion animations started working as intended - the character was moving in 3D space at the same rate I’d made it move in Blender. No Unity code needed for the movement, which was great for the specific animation I wanted to apply it too.
How I used root motion and in-place motion together on the same character
As mentioend earlier, I wanted to get both motion types working together on the same character, with the idea being it would allow me to learn both methods, and the pros and cons for each.
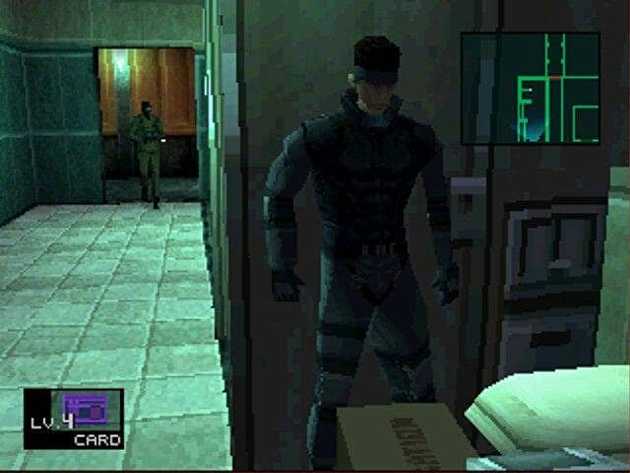
I decided to have my players idle, walk and run animation motion handled in place (in the code) while the root animation would be used to push my character against a wall and shuffle left/right while being pushed up against the wall. Like Snake does in the game:
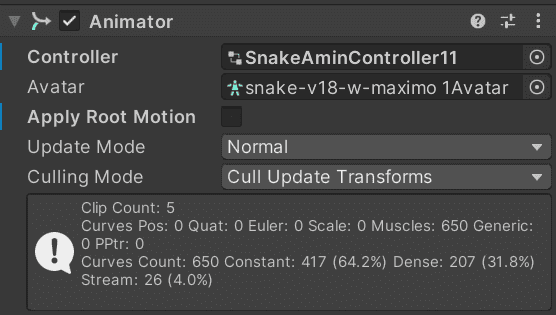
In order for root motion to work, it needs to be turned on on the Animator component in Unity:
This checkbox turns it on for the whole character though, so with this enabled, my walk motion did not work. It didn’t work because my character has no motion in the walk animation because it was designed to be in place animation. With the “apply root motion” box unticked, mmy character could walk again.
The solution I come up with was to toggle the “apply root motion” setting in the character script:
void Update()
{
    if (isHuggingWall)
    {
        animator.applyRootMotion = true;
        MoveHuggingWall();
    }
    else
    {
        animator.applyRootMotion = false;
        Move();
    }
}
The animator variable is assigned to the Anmator component, so it has a property called “applyRootMotion”. This can be toggled in the code, and as I know when the character is about the press against the wall, I can switch the root motion on and turn off the normal player controls (allowing the animation to control the character movement against the wall). Later when the character leaves the wall, the isHuggingWall variable changes to false, disabling the root motion and allowing me to move the player with the normal controls.
The process of the wall hugging was a great way to learn a load of different parts of Unity. It was pretty challenging, so that will be the focus of my next post.
Senior Engineer at Haven
