The first thoughts of Arduino from a web developer with no circuit board experience
May 29, 2020
There are a load of posts out there about Arduino and the possibilities of what can be achieved with the hardware and software packages, but a lot of them don’t give a true representation of what it means coming from absolutely no expereince with the hardware side and getting started using their starter kits. This post is a short one which I was writing at the time of getting an Arduino kit, so hopefully it will help anyone wondering what the experience is like from the very beginning.
What is Arduino
Before we jump in, I’ll give a brief overview of what Arduino is for those who don’t know. Arduino is an “open-source electronics platform based on easy-to-use hardware and software” as stated on their website. You purchase an Arduino Board, and use the Arduino open source software to program the board to do something with different hardware. Without going in to too much detail as some of this is covered later in the post, you can buy sensors to take in information from the outside world, buy devices to connect to the same board which react to the sensors, which are all orchestrated by code which you write and load on to the board.
There’s so much which can be bought from the Arduino website so it’s worth a proper look to see the potential, but as I mentioned earlier this post aims at focusing on the very first look at it from a practical perspective.
Also before continuing, there are alternatives to Arduino such as Teensy and NodeMCU which are similar to Arduino. However what I love about Arduino is the whole experience of their brand, how easy and accessible the process feels, and also their community of passionate people who are willing to help with problems you may have. I’d recommend using Arduino for a beginner, and branching out from there.
Finally, Raspberry Pi’s are quite similar to Arduino boards at a first glance, but there are differences which mean one of them will be the better choice depending on what your goal is. Check out some posts around the web to see the specifics here, but generally I think Arduino is better for quick and cheap IoT projects which need the flexibility of being battery powered and do one specific task really well. If you want something to host a website or be used as a media controller, you’d probably want to get a Raspberry Pi.
The post will be written in a diary kind of format as I was writing the post at the end of each day.
Day 1 - purchasing an Arduino board
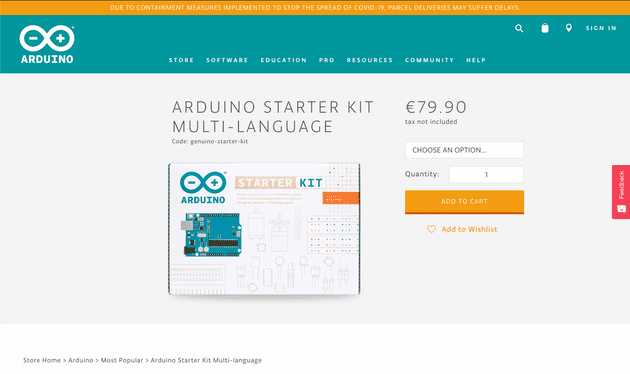
I started off by visiting the Arduino website for what was probably the 5th time in the last couple of years. Each time I’d decided to buy one, they were out of stock or had issues with the checkout process, but luckily I looked today and they were in stock! There are a load of products to buy from the store which looks so exciting, but I have decided to get the Arduino Starter Kit. From the description, this looks great for a beginner as it comes with a load of parts which are all used in a series of projects which you’re taught from a project book.
The starter kit costs €79.90 at the time of writing this post, which I don’t think is too bad. Especially if you’re able to re-use the components on other projects in future.
Day 2 - getting familiar with Arduino
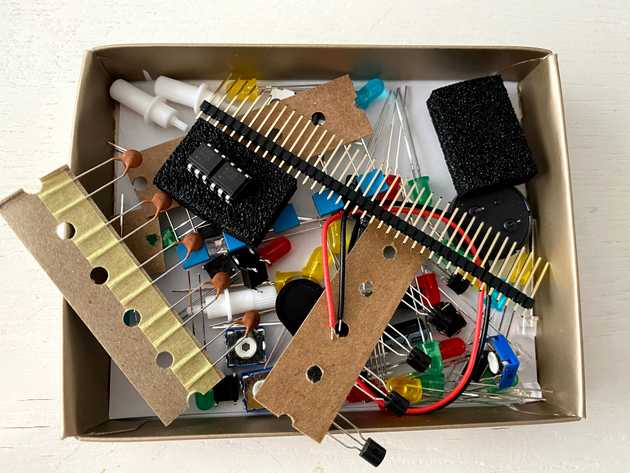
The package was finally delivered today and it was pretty exciting. It feels like a new toy at Christmas as it’s something physical you can play with. The contents of the Starter Kit is well organised and packed in nice and tightly. The components are split out in to sections with one section holding the Arduino Uno board, one section contains an LED display, and one contains a bunch of tiny hardware components.
The first thing I did was checked the book to ensure all the components were present:
The projects look like they are really simple from a first glance of the project book, with the ones at the end looking quite complex which is good.
After checking the componetns, you’re asked to install Arduino software first which is easy. It includes downloading the IDE from their website which is a tiny software package that allows you to write the code which is loaded on to the Arduino Uno board. The book explains that the code which is added to the board is called a “Sketch”.
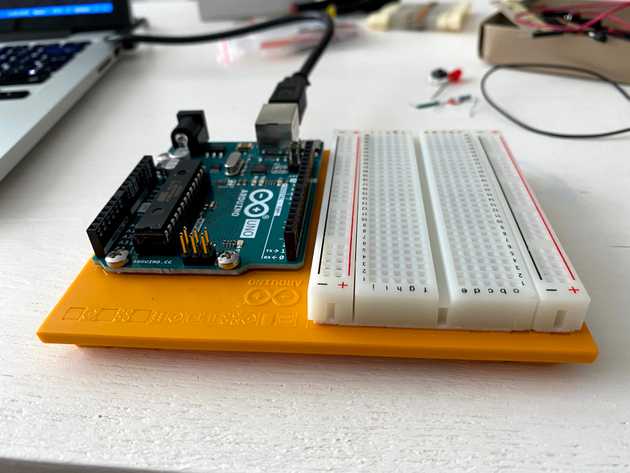
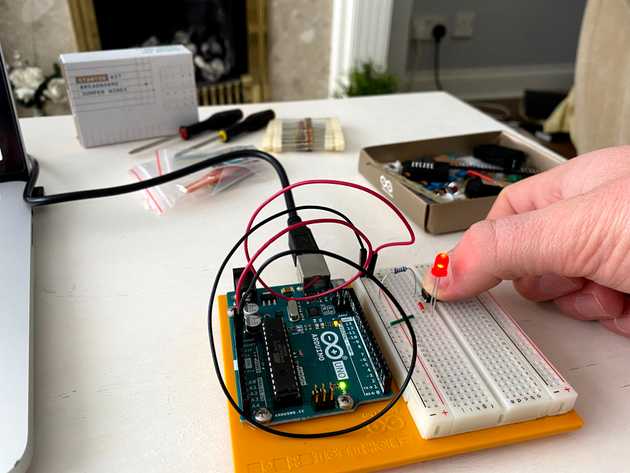
The first project in the book begins by explaining the basics of electric circuit boards, like resistance, voltage, current etc. All the stuff which was taugt at school but it seems so much more exciting when it’s in this sort of format. Maybe it’s a sign I’m getting old. After explaining the basics, it jumps right in to arranging your Arduino Uno board and breadboard on a plastic base so it’s easy to work with:
The breadboard is a solderless board which enables you to connect the hardware components together to form a circuit, without soldering. It’s pretty nice for learning because you’re not forced to burn your house down using a soldering iron. Having it all on the orange plastic base means you can connect wires easier I’m guessing.
Once the board is on the base, the next part of the first project is to set up a very simple board using some of the hardware components in a series circuit. The book is easy to follow when creating the circuit as it shows you where to put each component:
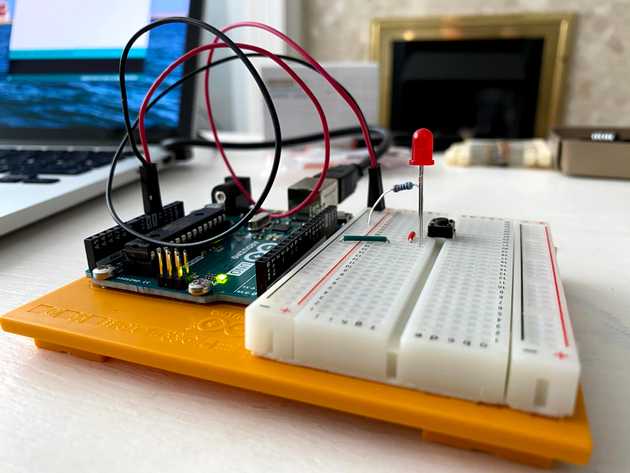
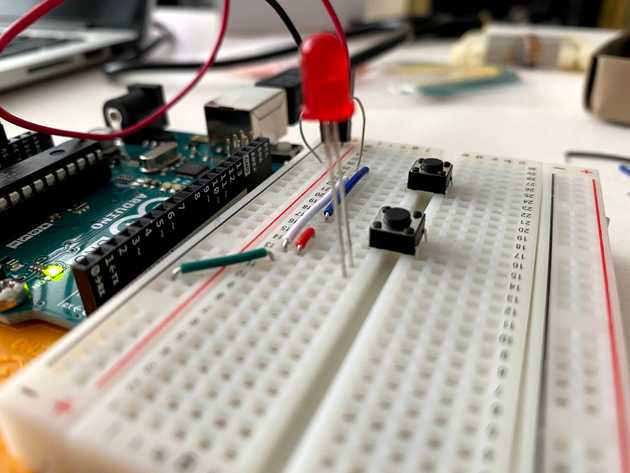
You then reflect the book instructions to the hardware:
The power goes from the Uno board (left), over to the breadboard (right), through a 220 Ohm resistor, through a small button (which is technically called a switch), through an LED, and then finally back to the board to close the circuit. Once the switch is pressed, the circuit is complete and the power flows, lighting up the LED.
As simple as this project is, it’s nice to be reminded of everytihng I’d forgotted in GCSE physics about circuits.
The final part of the first project is to create a parallel circuit. The first part was the creation of a series circuit, but I guess they are showing both ways so expand your knowledge:
This parallel circuit shows the ability to press one or the other switch. It means the current can flow through multiple circuits depending on which switch is pressed. It a bit more complicated but I’m hoping it will be second nature the more I do it.
Day 3 - more complex circuits and introducing software
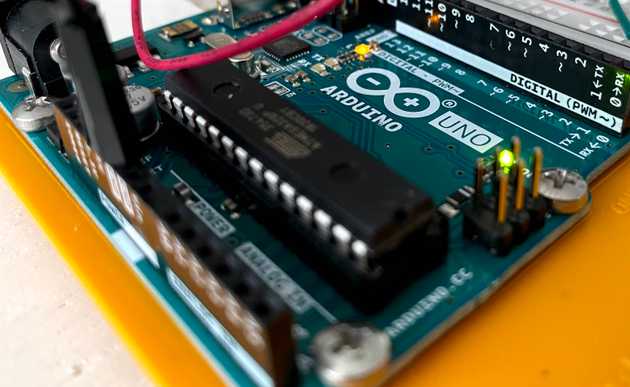
On the third day I’m beginning Project 2. This is getting much more interesting now, with the board doing more than just being powered by my laptop. The first project was designed as an introduction to circuits and therefore was self contained with no input from anywhere other than a power input, but this second project introduces “digital pins”:
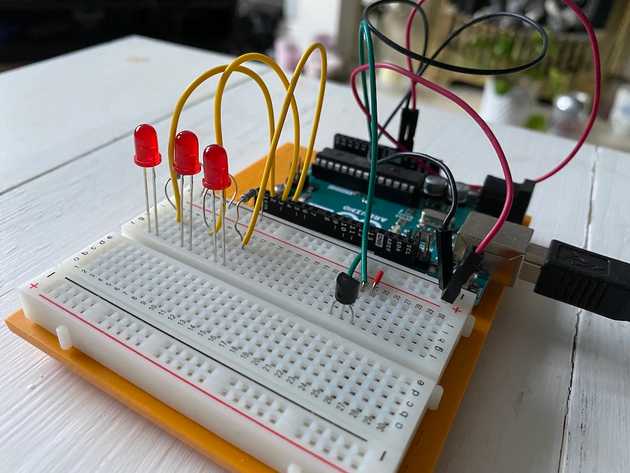
The pins are at the top right of the above image, and are used for the code you write to interfect with it the board. This project is more complex than the previous, but still quite simple generally. It leads you through writing code which affects the LEDs and responds to a press of the switch, and these components are linked to the code using the digital pins mentioned above.
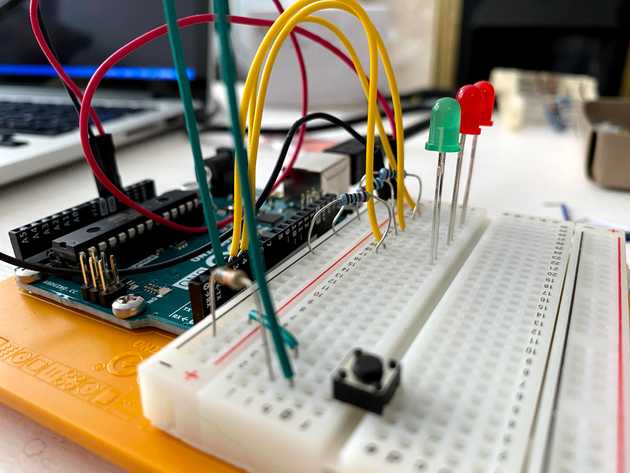
Here’s the final setup of the board with the circuit in place:
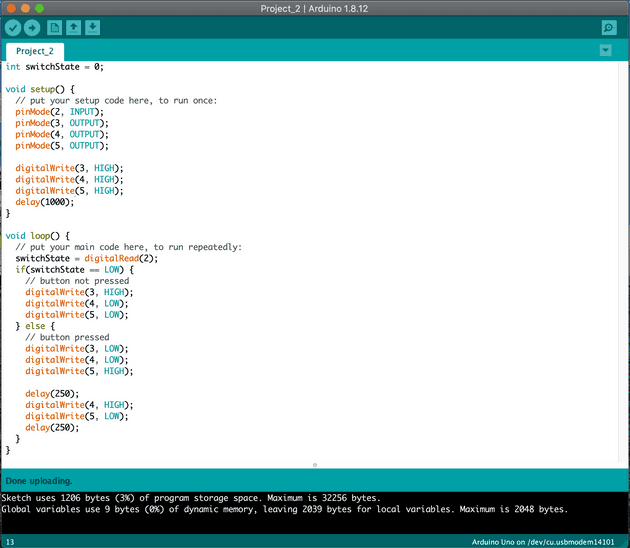
And another one here is a screenshot of the final code which affects the hardware:
The first function at the top of the page there is a the setup() function which runs once when the board is powered on. This enables you to set the state of the board, and specifically here that means setting what the digital pins do, and giving them an initial state of pins 3, 4 and 5. These 3 pins are the LEDs, so this setup function turns them all on when the board first powers.
The second function is the loop(). This runs repeatedly, many hundreds of times per second. Those who have writted software before might be able to understand exactly what this does just from looking at it, but basically it makes the LEDs flash when the switch is pressed.
At this point I feel comfortable with the switchs, LEDs, and wiring up between the uno and breadboard. But what I don’t fully understand is how to know which resistors to go where without looking at the book. Perhaps the book will focus on this more as it gets more in depth.
Another question I have at this point is how can this setup work wirelessly? At the moment the board needs to be plugged in to my laptop to run as the laptop is the power source. There’s a small battery connector in the starter kit which is great as it means it’s designed to run with it’s own power source, but I don’t know how this will fit in with wireless data transfer, because the Uno board doesn’t have bluetooth or WiFi component to handle that type of data transfer.
Day 4 - reading information from sensors
Project 3 is now getting more exciting still, as it’s introducing sensors. There are various sensors included in the kit which react to changes in light, sound and temparature, but this project uses the temperature sensors. The project lights up one or more lights depending on the temperature of the sensor. If you blow on the sensor or tough it with something, the temperature increases and more lights light up.
This is done by the sensor has a variable voltage which changes based on the temperature. The higher voltage translates to a number between 0 and 1024 which is sent through to the program we write the code for, and we can program the board to send different information to a pin based on the reading from the sensor.
Here’s the board:
This project is good again as an introduction to the concepts of Arduino and circuits in general, but it will be better when they are a bit more challenging. I want to see the breadth of what the project book covers and then it gets interesting to see what can be done beyond that using your own imagination.
I’ve thought more about the wireless capabilities as I’d eventually like to control the board remotely, perhaps from a small server written in Go or Node, but I realise that’s not possible with the starter kit. I’ve gone ahead and ordered some Wireless Modules which are apprently compatible with the Arduino boards, so hopefully this will give me what I want there.
That’s it for this post, but as I do more with Arduino I may write another one which is more focussed on the complexities and nuances of Arduino. Thanks for reading!
Senior Engineer at Haven
